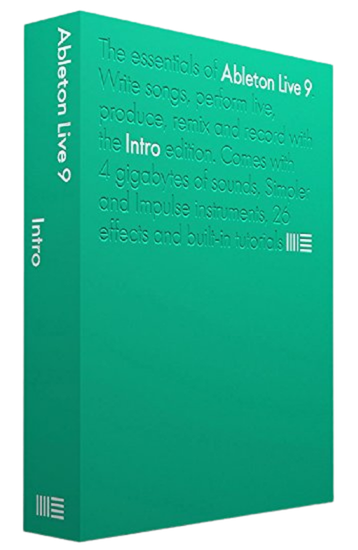
Ableton Live 9 Intro
Ableton produces software that is intuitive and incredibly easy to learn to use effectively. The layout is extremely thought out and is a pleasure to work on. In other words, it is simplicity at its finest.

While there are free options for recording software out there (most notably: Audacity), it’s worth paying for software that functions and is easy to use. Not to mention, the quality of recordings are fantastic! I’ve used Audacity, Cubase, and Pro Tools extensively in the past, but none of them hold a candle to how much I prefer Ableton. This software includes up to 16 record-able tracks for one session and tons of audio effects ranging from chorus to reverb.
Street Price: $79
Amazon Link


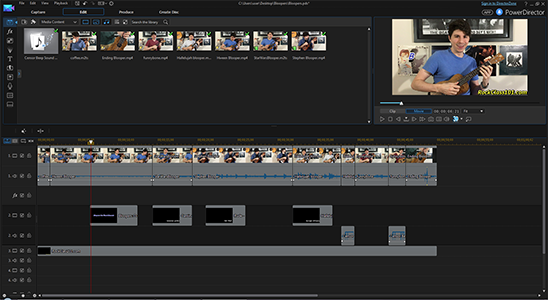
PowerDirector 15 Ultra
I have tried countless video editing software programs (Pinnacle & Corel to name a couple), and hands down PowerDirector by Cyberlink is the easiest and most user-friendly platform on the market. It may not have all the bells and whistles of Apple Final Cut Pro, but most of us just need an intuitive editor that includes text overlays and fade in and out capability. And that’s what this program excels at.
It is extremely easy to align the high quality audio I record to the video file from my iPhone. After that, editing is a breeze as you can trim and splice the video simply by pushing a couple buttons on the keyboard. There is a video preview screen on the top right, so you can always see what you are working on in real-time. Here is a picture of the layout from a bloopers video I created.
Street Price: $54
Amazon Link
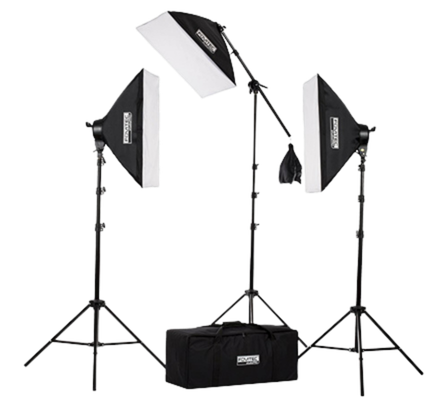
Fovitec StudioPRO – 3 Point Lighting Kit
Lighting is the most important aspect of creating a professional quality video. In the guide, we will discuss how to properly set up 3 point lighting for recording. But, for now let’s look at the difference between using a 3 point setup and not using it.

Before (shot on iPhone 6s) using 2 cheap clamp-on lights ($9 each), one off-set to the right, the other to the left.

After (shot on iPhone 6s) using a 3 point lighting setup.
As you can see, the difference is drastic! I can’t state it enough… if you want quality videos, don’t ignore the lighting aspect.
Street Price: $190
Amazon Link
Fovitec StudioPRO – 3 Point Lighting Kit
Article by: Andrew Hardel